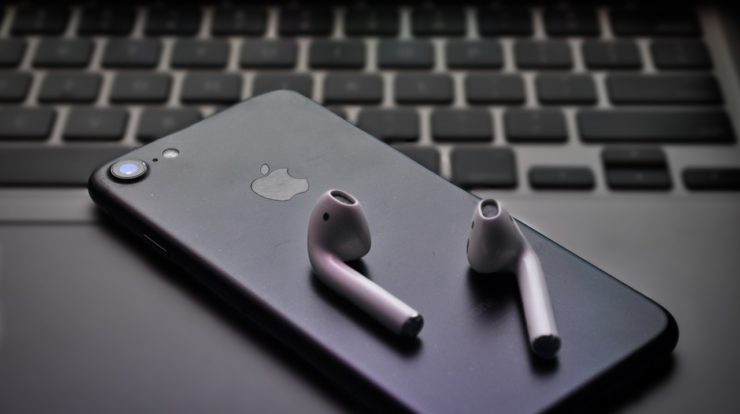
AirPods have become more and more popular in recent years and for strong reasons. These headphones are known for some unique and very useful features. We can mention, for instance, the intelligent features such as the built-in sensors that are able to detect when the user inserts or removes them from the ears. We can also remind you about the touch gestures for controlling your favorite music playback, activating the Siri virtual assistant, or even managing calls.
You got the point: AirPods represent an advanced set of headphones that many tech enthusiasts out there are crazy about. However, there are moments in life when you need to reset your AirPods, and that can turn into a frustrating task if you’re not doing it the right way.
Resetting your AirPods is necessary in a few situations. Whether you run into troubleshooting connectivity issues, you need to solve software glitches, or you wish to sync with a different Apple ID, resetting your AirPods practically becomes mandatory. Let’s find out how to do it!
Reset your AirPods in a few simple steps
Resetting your AirPods can be a simple process if you know what you’re doing. The goal is to restore the default settings and set them up again. You must keep in mind that when you choose to reset your AirPods, all previous settings will vanish. Therefore, you’ll just need to customize them once more. If, instead, you wish to use a friend’s AirPods with your iOS device, you must first disassociate them from their original Apple ID.
Here’s how to initiate the reset of your AirPods:
- Place both AirPods back into their charging case and close the lid, allowing for a pause of 30 seconds to occur.
- Open the lid of the AirPods charging case.
- From your iPhone or iOS device, navigate to the Settings menu and hit the Bluetooth option.
- Find your AirPods in the list and select the “More Info” button, which is represented by a blue circle with an “i.”
- Select the “Forget This Device” option and confirm your decision when you get the prompt.
- While the charging case lid remains open, press and hold the setup button that’s present at the back of the case for 15 seconds. The status light will flash amber and then white.
- Once the AirPods enter the status mode, you’ll have to reconnect them to your iOS device. Close the lid of the charging case and bring it near your iPhone to start the synchronization process. A prompt will appear on your iPhone or iOS device, giving you the chance to reconnect your AirPods.
Avoid frequent resets of your AirPods
Resetting your AirPods is not a comfortable task, and we all have to admit it. However, there are ways to ensure that your AirPods remain in good condition without the need for frequent resets.
Feel free to follow these tips:
- Keep them clean: Regularly clean your AirPods and their charging case in order to prevent dirt, debris, or earwax to enter. You can use a soft, lint-free cloth to wipe them down without even applying too much pressure. You must avoid using liquids, as we all know that they can be lethal for technology.
- Store them properly: When you’re not using your AirPods, you’ll need to store them in their charging case. This helps protect the headphones from physical damage and scratches.
- Avoid exposure to extreme conditions: You must also protect your AirPods from excessive cold, heat, and moisture. You must avoid leaving them in a hot car when the summer sunlight is at its peak, for instance.
- Update firmware: You should always keep your AirPods and connected devices up to date with the latest firmware and software updates. These updates often bring bug fixes and performance improvements as well.
- Use proper charging methods: Don’t hesitate to use the provided charging cable and avoid using third-party chargers that may not be compatible or could cause damage.
By following these guidelines, you can help prolong the lifespan of your AirPods and even reduce the likelihood of encountering issues that require a reset.

Tim M. Hill helped bring Digital-Overload from a weekly newsletter to a full-fledged news site by creating a new website and branding. He continues to assist in keeping the site responsive and well organized for the readers. As a writer to Digital-Overload, Tim mainly covers mobile news and gadgets.